How to Create an Ethereum Wallet Using MetaMask
MetaMask is available as both a web browser extension for Brave, Chrome, Edge, and Firefox. And as a phone application (iOS and Android). For this example, we’ll be using the Brave Browser
Open https://metamask.io/download and click “Install MetaMask for Brave”
Click “Add to Brave”
Click “Add extension”
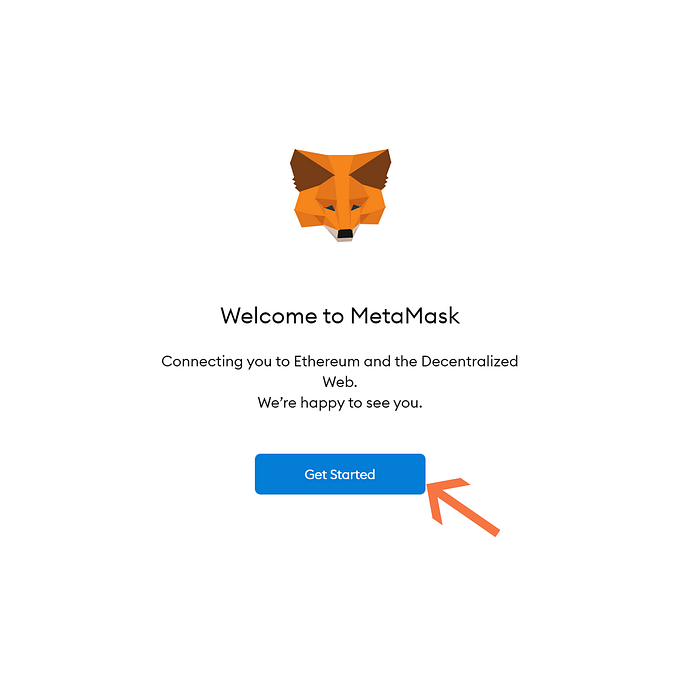
Click “Get Started”
Click Create a Wallet
Decide whether to help improve MetaMask or not
Create a strong password and write it down
It’s not required, but the video about recovery phases is very informative
Reveal your Secret Backup Phrase by clicking the grey box with a lock on it
Write down your 12-word Secret Backup Phrase. Guard these words carefully. If you ever lose access to your wallet and do not have these words, you will lose access to your funds and NFT’s
Prove that you wrote your Secret Backup Phrase correctly by clicking on them in the correct order and then click “Confirm”
If you input your Secret Backup Phrase correctly you will reach the final screen. Read and understand the tips about storing your phrase. When you are done, click “All Done”
If you would prefer visual aids, please scroll down. And stay tuned for our next article — “How to Fund an Ethereum Wallet” coming soon.
While, you wait — why not join our Discord Server? https://discord.gg/FtkQpb2ykv
Step 1. Open https://metamask.io/download and click “Install MetaMask for Brave”.

Step 2. Click “Add to Brave”

Step 3. Click “Add extension”

Step 4. Click “Get Started”
Step 5. Click Create a Wallet

Step 6. Decide whether to help improve MetaMask or not

Step 7. Create a strong password and write it down

Step 8. It’s not required, but the video about recovery phases is very informative

Step 9. Reveal your Secret Backup Phrase by clicking the grey box with a lock on it

Step 10. Write down your 12-word Secret Backup Phrase. Guard these words carefully. If you ever lose access to your wallet and do not have these words, you will lose access to your funds and NFT’s

Step 11. Prove that you wrote your Secret Backup Phrase correctly by clicking on them in the correct order and then click “Confirm”

Step 12. If you input your Secret Backup Phrase correctly you will reach the final screen. Read and understand the tips about storing your phrase. When you are done, click “All Done”

Congratulations! You have just created your first Ethereum wallet. You secured it with a strong password, and you wrote down your Secret Backup Phrase in case you ever need to restore your wallet.

You can rename your wallet by clicking where it says “Account 1”. Your actual Ethereum address is displayed below the account name (partially visible). If you click the double square to the right of the address, the full address will be copied to your clipboard. This is known as your “public address”. You can share this address anywhere without concern. The only thing you must keep private is Secret Backup Phrase. NEVER give this phrase to ANYONE. There are scammers everywhere who will try to trick you into providing this phrase to them. If someone gains access to your twelve-word phrase they can (and will) take all your funds and NFT’s.
Last updated